Creating an Application
If you followed the installation guide and verified your setup you are ready to start building. This page walks you through writing a minimal VGLX application and assembling a simple world from a few core pieces. The example is small on purpose. It introduces the fundamentals without burying you in details.
By the end you’ll have a working application and a clear sense of how the engine fits together, enough to start exploring on your own.
Creating a Project
VGLX works best with CMake. In this section we create a small project so it can build cleanly on all platforms. To keep things simple we use a flat directory with just two files:
/hello-vglx
  ├── CMakeLists.txt
  └── main.cpp
CMakeLists.txt holds a small build configuration:
cmake_minimum_required(VERSION 3.20)

project(hello-vglx)

set(CMAKE_CXX_STANDARD 23)
set(CMAKE_CXX_STANDARD_REQUIRED ON)

add_executable(hello-vglx main.cpp)

find_package(vglx REQUIRED)

target_link_libraries(hello-vglx PRIVATE vglx::vglx)

if (WIN32)
    add_custom_command(TARGET hello-vglx POST_BUILD
        COMMAND ${CMAKE_COMMAND} -E copy_if_different
        $<TARGET_FILE:vglx::vglx>
        $<TARGET_FILE_DIR:hello-vglx>
    )
endif()
The file starts by declaring the minimum CMake version, the project name and the language standard. We then create an executable and give it a single source file.
If you followed the installation guide you can import VGLX with two commands. find_package(vglx REQUIRED) asks CMake to locate the library. If it is missing or incorrectly installed, configuration fails. target_link_libraries links our application to the VGLX binaries.
The Windows-only section copies the VGLX DLL next to the executable after the build step. CMake selects the correct binary automatically based on your build type. Without this the application may fail to launch on Windows unless you add the binaries to your system path.
This setup looks simple but CMake is doing a lot behind the scenes. It verifies the installation, loads the correct configuration and handles platform-specific details for us.
Before we move on, let’s add a minimal main.cpp to test that the project builds correctly:
#include <print>

#include <vglx/vglx.hpp>

auto main() -> int {
    std::println("hello, world");
    return 0;
}
With both files in place you can configure and build the project from the project root:
cmake -S . -B build -DCMAKE_BUILD_TYPE=Debug
cmake --build build --config Debug
After the build completes you should see the executable in the build directory.
- Linux/macOS:
build/hello-vglx - Windows:
build/Debug/hello-vglx.exe
Run it and you should be greeted by your application.
If CMake reports that it cannot find VGLX return to the installation guide and verify that the library was installed to a prefix CMake can locate. Otherwise you are ready to move on to bringing up a window.
Creating a Window
VGLX is a library, not a framework. You assemble its pieces from your own main function. Three objects do most of the work: a Window that owns the OS surface and event pump, a Renderer that draws to it, and a Scene that holds the world. Wire them together once, then drive them from a per-frame loop.
#include <print>

#include <vglx/vglx.hpp>

using namespace vglx;

auto main() -> int {
    auto window = Window {{
        .title = "Hello VGLX",
        .width = 1280,
        .height = 720,
        .vsync = true
    }};

    if (auto result = window.Initialize(); !result.has_value()) {
        std::println(stderr, "{}", result.error());
        return 1;
    }

    auto renderer = Renderer {{
        .framebuffer_width = window.FramebufferWidth(),
        .framebuffer_height = window.FramebufferHeight(),
        .sample_count = 4,
        .clear_color = 0x000000
    }};

    if (auto result = renderer.Initialize(); !result.has_value()) {
        std::println(stderr, "{}", result.error());
        return 1;
    }

    return 0;
}
Window opens a 1280×720 window with 4× multisampling and v-sync. Renderer is told the framebuffer size up front so it can size its render targets to match. Both Initialize calls return a std::expected<void, std::string>; on failure we print the error and exit. There is no hidden runtime catching these errors for you.
Build and run. You should briefly see an empty window before the program exits. We still need a camera, a scene, and a loop to keep the window open and put something on screen.
Creating a Scene
The Scene is the root of your graph: every node hangs from it, inherits its state, and contributes to the final frame. It’s the anchor that ties cameras, lights, and geometry into a coherent world the renderer can walk.
You can build a scene by calling Scene::Create() and attaching nodes to it from main, but it’s often cleaner to subclass Scene. A custom scene keeps setup code grouped with the data it owns and gives you a place to put per-frame logic.
Add the following class definition above main:
struct MyScene : public Scene {
    MyScene(Camera* camera) {}

    auto OnUpdate(float delta) -> void override {}
};
MyScene takes the active camera in its constructor so it can position the camera or hand it to camera-aware nodes during setup. It also overrides one hook: OnUpdate, called once per frame. We’ll fill these in shortly.
Populating the Scene
In this guide we’ll build a small scene: a 3D cube, a couple of lights, and a simple animation to make things interesting.
A scene is built from nodes: cameras, meshes, lights, and anything else you place in the world. We’ll start with the camera.
A camera is constructed and owned in main, then handed to the scene. We use a PerspectiveCamera with the window’s aspect ratio. By default the camera starts at the world origin , so we push it back along +Z to leave the origin in front of it. VGLX uses a right-handed coordinate system.
Add this to main, just before the return:
auto camera = PerspectiveCamera::Create({
    .fov = math::DegToRad(60.0f),
    .aspect = window.AspectRatio(),
    .near = 0.1f,
    .far = 1000.0f
});
camera->transform.Translate({0.0f, 0.0f, 2.5f});

auto scene = std::make_unique<MyScene>(camera.get());
Now we have something to point a camera at. To render anything we need a renderable node. The most common one is a Mesh. A mesh combines two pieces: a Geometry which defines what to draw and a Material which defines how it should be drawn.
For a simple cube we can use the built-in BoxGeometry primitive, and because we want lighting in the scene we’ll pair it with a PhongMaterial. Update MyScene:
struct MyScene : public Scene {
    Mesh* mesh {nullptr};

    MyScene(Camera* camera) {
        mesh = Add(Mesh::Create(
            BoxGeometry::Create(),
            PhongMaterial::Create({.color = 0x049EF4})
        ));
    }

    auto OnUpdate(float delta) -> void override {}
};
Note that Mesh::Create returns a std::unique_ptr that is transferred to and owned by the scene graph. Calling Add returns a non-owning raw pointer which you may store and use for convenience. This pointer remains valid only while the node is attached to the scene graph; once the node is removed, the reference must no longer be used.
If we ran the application now we still wouldn’t see anything because the scene has no light sources. For this demo we’ll add two: an AmbientLight which illuminates everything uniformly from all directions, and a PointLight which represents a light source at a specific position that emits light in all directions like a small bulb.
We can add and configure both lights in our scene’s constructor:
MyScene(Camera* camera) {
    Add(AmbientLight::Create({
        .color = 0xFFFFFF,
        .intensity = 0.5f
    }));

    Add(PointLight::Create({
        .color = 0xFFFFFF,
        .intensity = 1.0f
    }))->transform.Translate({2.0f, 2.5f, 4.0f});

    mesh = Add(Mesh::Create(
        BoxGeometry::Create(),
        PhongMaterial::Create({.color = 0x049EF4})
    ));
}
Both light sources need a color and an intensity. Unlike the ambient light, the point light is positional so we move it slightly up, to the right, and back to give the scene some depth.
The Main Loop
We have a window, a renderer, a camera, and a scene. What we don’t have yet is a loop to drive them. Add the following to main, after constructing the scene:
window.OnResize([&](const ResizeParameters& params) {
    renderer.SetViewport(0, 0,
        params.framebuffer_width,
        params.framebuffer_height
    );
    camera->Resize(params.window_width, params.window_height);
});

auto timer = FrameTimer {true};
while (!window.ShouldClose()) {
    window.PollEvents();
    scene->Advance(timer.Tick());
    renderer.Render(scene.get(), camera.get());
    window.SwapBuffers();
}
The resize callback fans out to the things that care about the new size: the renderer updates its viewport, and the camera recomputes its projection. Both are owned by us, so we wire them up directly — no hidden machinery in between.
FrameTimer tracks elapsed time between frames. Inside the loop we poll events, advance the scene by the time delta, render the frame, and swap buffers. That’s the whole game loop. If you run the application now you should see a blue square in the center of the window. That’s the front face of the cube viewed straight on.
Next we’ll animate it so the 3D shape becomes obvious.
Basic Animation
To keep things simple we’ll animate the scene by rotating the cube around the X and Y axes. All animation in VGLX happens inside a node’s update hook. In our case that’s the scene’s OnUpdate function, which is called once per frame.
auto OnUpdate(float delta) -> void override {
    const auto rotation_speed = math::pi_over_2;
    mesh->transform.Rotate(Vector3::X(), rotation_speed * delta);
    mesh->transform.Rotate(Vector3::Y(), rotation_speed * delta);
}
The delta parameter represents the time, in seconds, since the previous frame. By scaling the rotation by delta the animation becomes time-based rather than frame-based. This ensures the cube rotates at the same speed regardless of frame rate.
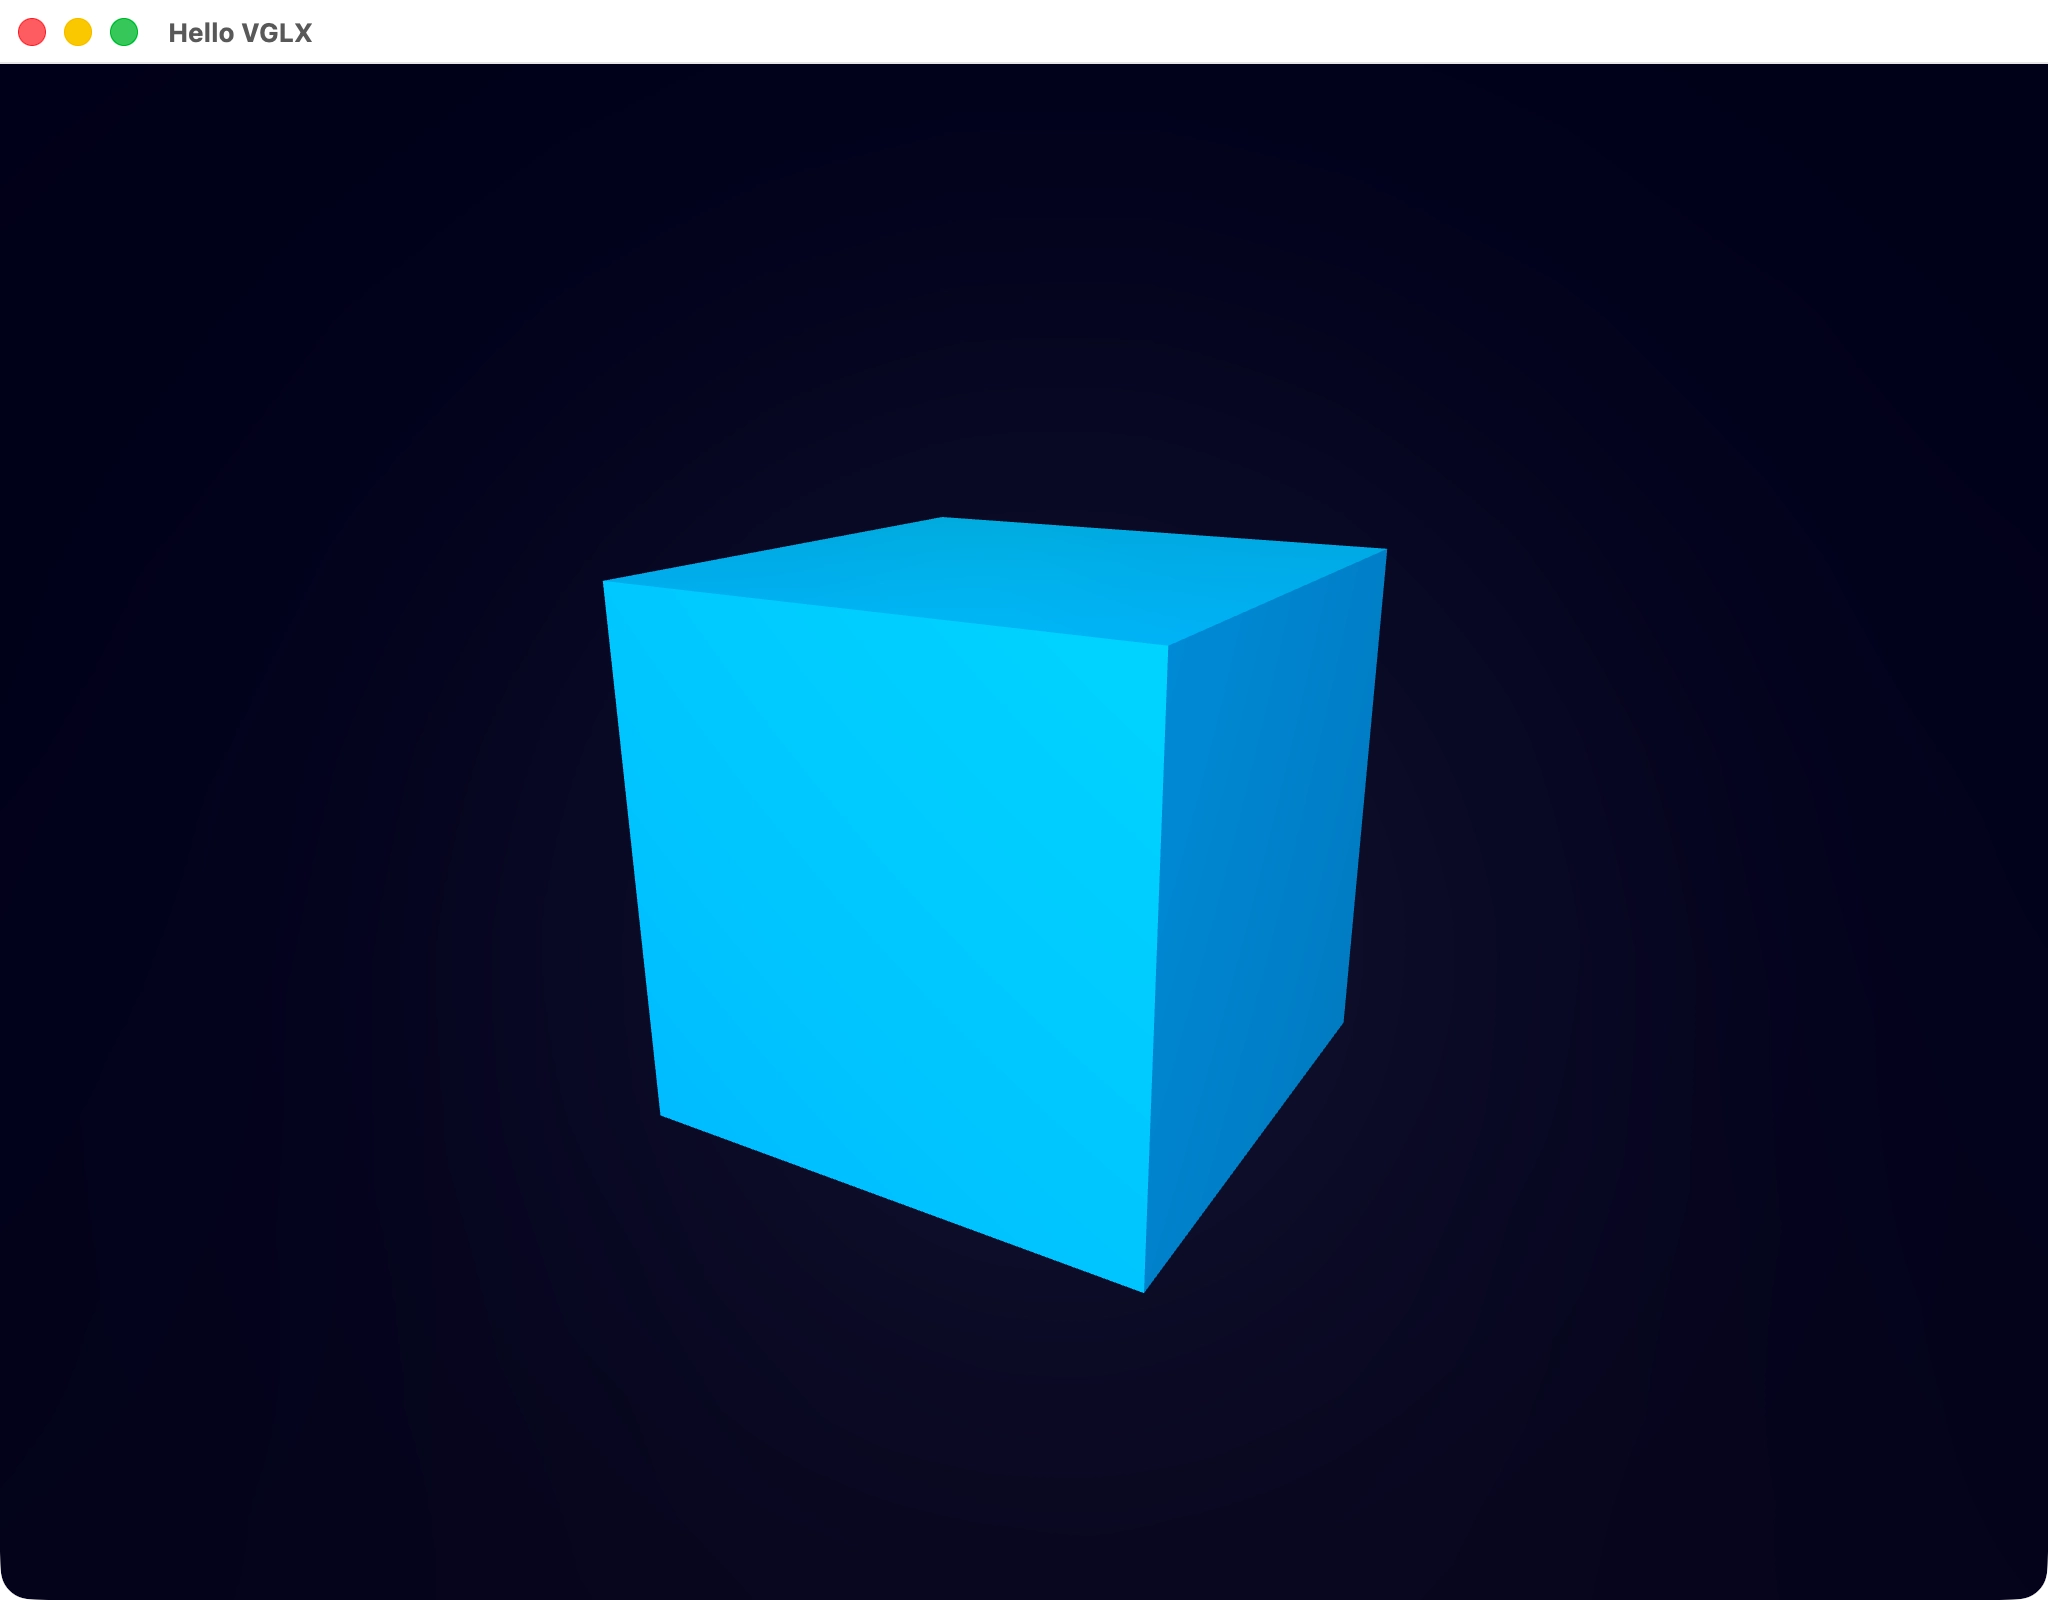
If you run the application now, the square becomes a rotating cube, making the 3D nature of the scene clear.
Conclusion
In this guide we built a minimal VGLX application from scratch. We created a project, opened a window, set up a renderer and a camera, defined a custom scene populated with a mesh and lights, and wrote a per-frame loop. Finally, we added a simple animation to bring the scene to life.
This small example touches most of the core concepts you’ll use in any VGLX project: the window and renderer, the scene graph, renderable nodes, lighting, transforms, and per-frame updates. None of it is hidden behind a framework — every step is visible in your own main.
From here you can start experimenting. Try adding more meshes, changing materials, or introducing different types of lights. When you’re ready to go further, take a look at camera controls, input handling, and custom materials in the reference documentation.
The complete source code for this example is shown below for reference:
#include <vglx/vglx.hpp>

#include <print>

using namespace vglx;

struct MyScene : public Scene {
    Mesh* mesh {nullptr};

    MyScene(Camera* camera) {
        Add(AmbientLight::Create({
            .color = 0xFFFFFF,
            .intensity = 0.5f
        }));

        Add(PointLight::Create({
            .color = 0xFFFFFF,
            .intensity = 1.0f
        }))->transform.Translate({2.0f, 2.5f, 4.0f});

        mesh = Add(Mesh::Create(
            BoxGeometry::Create(),
            PhongMaterial::Create({.color = 0x049EF4})
        ));
    }

    auto OnUpdate(float delta) -> void override {
        const auto rotation_speed = math::pi_over_2;
        mesh->transform.Rotate(Vector3::X(), rotation_speed * delta);
        mesh->transform.Rotate(Vector3::Y(), rotation_speed * delta);
    }
};

auto main() -> int {
    auto window = Window {{
        .title = "Hello VGLX",
        .width = 1280,
        .height = 720,
        .vsync = true
    }};
    if (auto result = window.Initialize(); !result.has_value()) {
        std::println(stderr, "{}", result.error());
        return 1;
    }

    auto renderer = Renderer {{
        .framebuffer_width = window.FramebufferWidth(),
        .framebuffer_height = window.FramebufferHeight(),
        .sample_count = 4,
        .clear_color = 0x000000
    }};
    if (auto result = renderer.Initialize(); !result.has_value()) {
        std::println(stderr, "{}", result.error());
        return 1;
    }

    auto camera = PerspectiveCamera::Create({
        .fov = math::DegToRad(60.0f),
        .aspect = window.AspectRatio(),
        .near = 0.1f,
        .far = 1000.0f
    });
    camera->transform.Translate({0.0f, 0.0f, 2.5f});

    auto scene = std::make_unique<MyScene>(camera.get());

    window.OnResize([&](const ResizeParameters& params) {
        renderer.SetViewport(0, 0,
            params.framebuffer_width,
            params.framebuffer_height
        );
        camera->Resize(params.window_width, params.window_height);
    });

    auto timer = FrameTimer {true};
    while (!window.ShouldClose()) {
        window.PollEvents();
        scene->Advance(timer.Tick());
        renderer.Render(scene.get(), camera.get());
        window.SwapBuffers();
    }

    return 0;
}