Custom Shaders
In VGLX, shaders are attached to materials and materials are paired with geometry. A Mesh is the fundamental renderable unit in the engine: it combines geometry, which describes what is drawn, with a material, which describes how that geometry is shaded.
The engine provides several built-in materials each backed by its own shader program. These materials are typically sufficient and allow you to build scenes without writing any shader code at all.
When you need more control over how geometry is transformed and shaded you use the Shader Material. This material allows you to supply your own vertex and fragment shader code giving you full control over vertex transformation and fragment shading while still integrating cleanly with the rest of the engine.
VGLX uses GLSL for all shader programs. Writing custom shaders assumes familiarity with shader programming concepts such as vertex and fragment stages, attributes, uniforms, and varyings. This guide does not teach GLSL. It focuses on how custom shaders fit in.
In this guide we will write a minimal custom shader program, attach it to a shader material, and use it for rendering. Along the way we will look at how VGLX injects built-in attributes and varyings, and how custom uniforms are defined and updated from the application.
You can do a lot with VGLX without writing custom shaders but if you want full flexibility over how your geometry is rendered custom shaders are the extension point and this guide is where to start.
Shader Materials
A Shader Material is a material backed by user-defined shaders. Unlike built-in materials, shader materials do not come with a predefined shader program. You provide code for both the vertex and fragment shaders when constructing the material.
VGLX keeps the structure around custom shaders intentionally light. It provides only a small set of injected symbols. Everything else is your shader. This makes shader materials flexible and allows custom rendering techniques to integrate cleanly without fighting the engine.
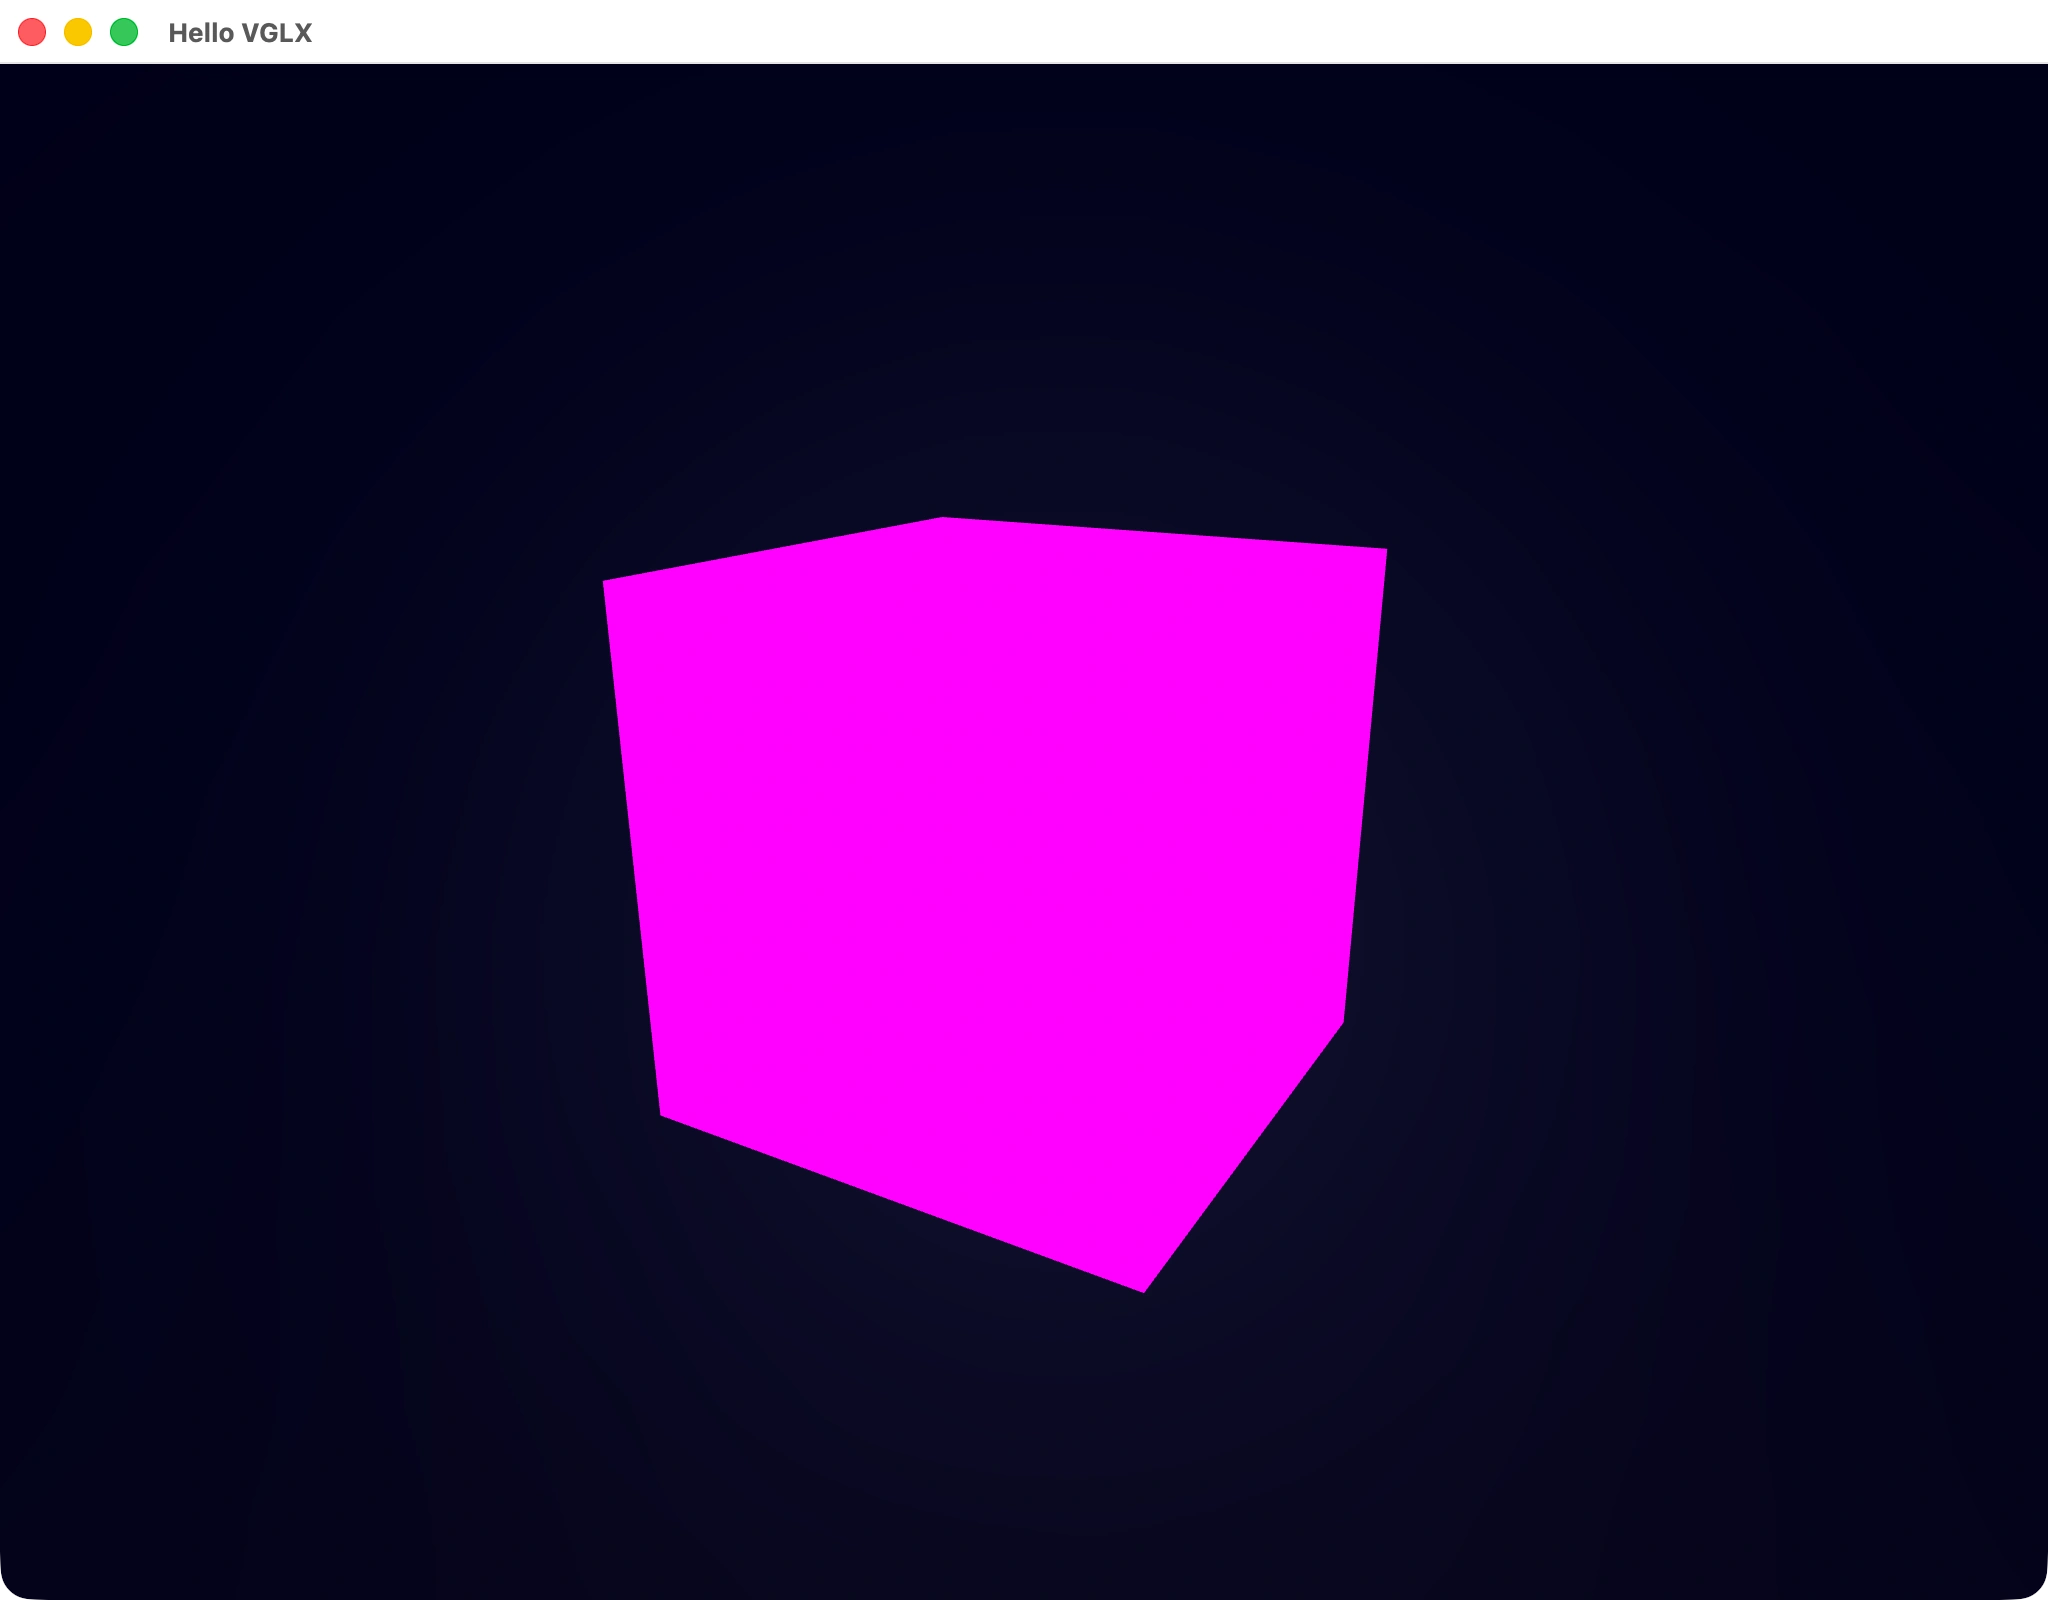
To demonstrate how shader materials work we will start from the rotating cube scene introduced in the previous guide. This version uses a built-in Unlit Material that colors the cube with a single constant color:
struct MyScene : public vglx::Scene {
    vglx::Mesh* mesh {nullptr};

    MyScene(vglx::Camera* camera) {
        camera->transform.Translate({0.0f, 0.0f, 2.5f});

        mesh = Add(vglx::Mesh::Create(
            vglx::BoxGeometry::Create(),
            vglx::UnlitMaterial::Create({.color = 0xFF00FF})
        ));
    }

    auto OnUpdate(float delta) -> void override {
        const auto rotation_speed = vglx::math::pi_over_2;
        mesh->transform.Rotate(vglx::Vector3::X(), rotation_speed * delta);
        mesh->transform.Rotate(vglx::Vector3::Y(), rotation_speed * delta);
    }
};
This scene renders a rotating cube in flat magenta. To illustrate how to use a custom shader we will replace the built-in material with a shader material that implements the same behavior. It colors all fragments with a single uniform color.
We begin by defining the vertex and fragment shader source code as raw string literals:
constexpr auto vertex_shader = R"(
#version 410 core
#pragma inject_attributes

#include "snippets/vert_global_params.glsl"

void main() {
    #include "snippets/vert_main_varyings.glsl"

    gl_Position = u_Projection * u_ModelView * vec4(a_Position, 1.0);
}
)";

constexpr auto fragment_shader = R"(
#version 410 core
#pragma inject_attributes

#include "snippets/frag_global_params.glsl"

uniform vec3 color;

void main() {
    o_FragColor = vec4(color, 1.0);
}
)";
Before examining the shader code in detail let’s connect these shaders to a shader material and attach it to a mesh:
vglx::Mesh* mesh {nullptr};
std::shared_ptr<vglx::ShaderMaterial> material;

MyScene(vglx::Camera* camera) {
    material = vglx::ShaderMaterial::Create({
        .vertex_shader = vertex_shader,
        .fragment_shader = fragment_shader,
        .uniforms = {{"color", vglx::Color {0xFF00FF}}}
    });

    mesh = Add(vglx::Mesh::Create(
        vglx::BoxGeometry::Create(),
        material
    ));
}
Running the application now produces the same visual result as before. The difference is that the color is now applied by a custom shader program rather than a built-in material.
The Shader Material factory expects valid GLSL source code for both shader stages. Uniforms can be provided at construction time as a name/value map. These values are uploaded and bound automatically when the material is used for rendering.
If you have experience writing GLSL you may notice that the shader code contains a few elements that are specific to VGLX. Let’s break down the vertex shader first:
#version 410 core
#pragma inject_attributes

#include "snippets/vert_global_params.glsl"

void main() {
    #include "snippets/vert_main_varyings.glsl"

    gl_Position = u_Projection * u_ModelView * vec4(a_Position, 1.0);
}
VGLX targets GLSL 4.10 core and every shader must begin with the corresponding version directive. Immediately after that is the #pragma inject_attributes directive. This is a engine-specific pragma that injects preprocessor definitions based on the material and program configuration. Like the version directive it should always appear at the top.
Shader code in VGLX is organized into reusable snippets. These snippets declare commonly used attributes, uniforms, and varyings. They are brought into the shader using standard #include directives. In the vertex shader we include vert_global_params.glsl to gain access to built-in vertex attributes and camera-related uniforms.
Inside main we include vert_main_varyings.glsl which defines varyings passed from the vertex stage to the fragment stage. The fragment shader follows the same structure:
#version 410 core
#pragma inject_attributes

#include "snippets/frag_global_params.glsl"

uniform vec3 color;

void main() {
    o_FragColor = vec4(color, 1.0);
}
The fragment shader begins by injecting attributes and including global parameters. In this case the snippets/frag_global_params.glsl snippet is included. The fragment shader also defines a custom uniform named color. This uniform is not populated by the engine automatically. It is provided by the application when the shader material is created:
material = vglx::ShaderMaterial::Create({
    .vertex_shader = vertex_shader,
    .fragment_shader = fragment_shader,
    .uniforms = {{"color", vglx::Color {0xFF00FF}}} // sets color uniform
});
If you plan to update uniforms dynamically it is a good idea to store the shader material instance as a member. Changing the cube’s color after creation can be done by updating the uniform value:
material->SetUniform("color", vglx::Color {0xFF0000});With this minimal example we implemented a complete custom shader program and integrated it into VGLX. While the shader itself is simple the same structure scales to complex techniques. Shaders are the foundation of everything rendered on screen and shader materials provide the entry point for extending VGLX beyond its built-in materials.
Shader Interface
Shader programs rely on a small set of built-in attributes, uniforms, and varyings. These symbols are injected into shader code using the #pragma inject_attributes directive and standard include snippets and provide access to common data.
The following tables list the symbols that are available in shader snippets.
Vertex Attributes
Vertex attributes describe per-vertex data supplied by the geometry. These are the attributes available in the vertex shader stage:
| Name | Type | Defined In | Description |
|---|---|---|---|
a_Position | vec3 | vert_global_params.glsl | Vertex position in local space |
a_Normal | vec3 | vert_global_params.glsl | Vertex normal in local space |
a_TexCoord | vec2 | vert_global_params.glsl | Primary texture coordinates |
a_Tangent | vec4 | vert_global_params.glsl | Tangent and handedness |
a_Color | vec3 | vert_global_params.glsl | Per-vertex color attribute |
a_InstanceColor | vec3 | vert_global_params.glsl | Per-instance color modifier |
a_InstanceTransform | mat4 | vert_global_params.glsl | Per-instance model transform |
Uniforms
Built-in uniforms provide per-draw or per-frame state supplied by the engine. These uniforms are declared in shader snippets and are populated automatically:
| Name | Type | Defined In | Description |
|---|---|---|---|
u_Model | mat4 | vert_global_params.glsl | World transform |
u_View | mat4 | vert_global_params.glsl | View transform |
u_Projection | mat4 | vert_global_params.glsl | Projection transform |
u_ModelView | mat4 | vert_main_varyings.glsl | Model-view transform |
u_TextureTransform | mat3 | vert_global_params.glsl | Texture transform |
u_Opacity | float | frag_global_params.glsl | Alpha factor |
u_Color | vec3 | frag_global_params.glsl | Base color |
u_Fog | Fog | frag_global_fog.glsl | Fog parameters |
Varyings
Varyings are interpolated values produced by the vertex shader and consumed by the fragment shader. They are declared by including the appropriate snippets:
| Name | Type | Defined In | Description |
|---|---|---|---|
v_Position | vec4 | vert_main_varyings.glsl | View space position |
v_TexCoords | vec2 | vert_main_varyings.glsl | Transformed UVs |
v_Normal | vec3 | vert_main_varyings.glsl | View-space normal |
v_ViewDir | vec3 | vert_main_varyings.glsl | View direction |
v_ViewDepth | float | vert_main_varyings.glsl | View space depth |
v_Color | vec3 | vert_main_varyings.glsl | Interpolated color |
v_InstanceColor | vec3 | vert_main_varyings.glsl | Instance color |
v_TBN | mat3 | vert_main_varyings.glsl | Tangent basis matrix |
All varyings are defined and written in the vertex stage. To access them in the fragment shader the corresponding attributes must be declared and the required global shader snippets must be injected in both stages.
vert_global_params.glslat the top of the vertex shadervert_main_varyings.glslinside the vertex shadermainfunctionfrag_global_params.glslat the top of the fragment shader
Custom Uniforms
Custom uniforms are values defined by the application and consumed by shader programs. They must be declared in GLSL and provided through the uniform map. Uniforms are bound by name and the type provided by the application must match the shader.
The following table lists accepted uniform value types and the GLSL types they map to:
| Application Type | GLSL Type | Example |
|---|---|---|
int | int | {1} |
float | float | {1.5f} |
Color | vec3 | vglx::Color {0xFF00FF} |
Matrix3 | mat3 | vglx::Matrix3 {1.0f} |
Matrix4 | mat4 | vglx::Matrix4 {1.0f} |
Vector2 | vec2 | vglx::Vector2 {1.0f, 0.0f} |
Vector3 | vec3 | vglx::Vector3 {1.0f, 0.0f, 1.0f} |
Vector4 | vec4 | vglx::Vector4 {1.0f, 0.0f, 1.0f, 0.0f} |
Uniform values can be updated after creation by mutating the material’s uniform map. Updates take effect the next time the material is rendered.
Debugging Shaders
Shaders can be difficult to debug. A single mistake may result in a black screen, incorrect colors, or missing geometry. When you run into problems start from the smallest shader that works and add features back incrementally.
Start with simple checks inside the shader:
- Output a constant color to confirm the fragment shader is running.
- Visualize inputs such as normals, UVs, or depth by writing them as colors.
- Clamp or normalize intermediate values before displaying them.
- Temporarily bypass complex math and reintroduce it step by step.
For deeper issues the most effective tool is RenderDoc. Capture a frame and inspect the draw call that renders your mesh to verify the full GPU state:
- Ensure the expected vertex and fragment shaders are bound.
- Verify attribute bindings and formats match the shader declarations.
- Inspect uniform values and confirm names and types are correct.
- Check that the correct textures are bound and sampled.
- Confirm the fragment shader writes to the intended render target.
Most shader issues in VGLX come from mismatches between what the shader declares and what the engine provides. When a shader compiles but renders incorrectly RenderDoc is the fastest way to inspect the application state.